

I got the monogram cutout at Michael's for like three bucks. How could I pass that up? I sprayed it with some turquoise spray paint (oops - missed a spot), and called it good.

Everything else I had on hand. the flowers were from the Dollar Tree and the willow branches, I was going to throw them away. I think they are at least ten years old. I really need to de-clutter!
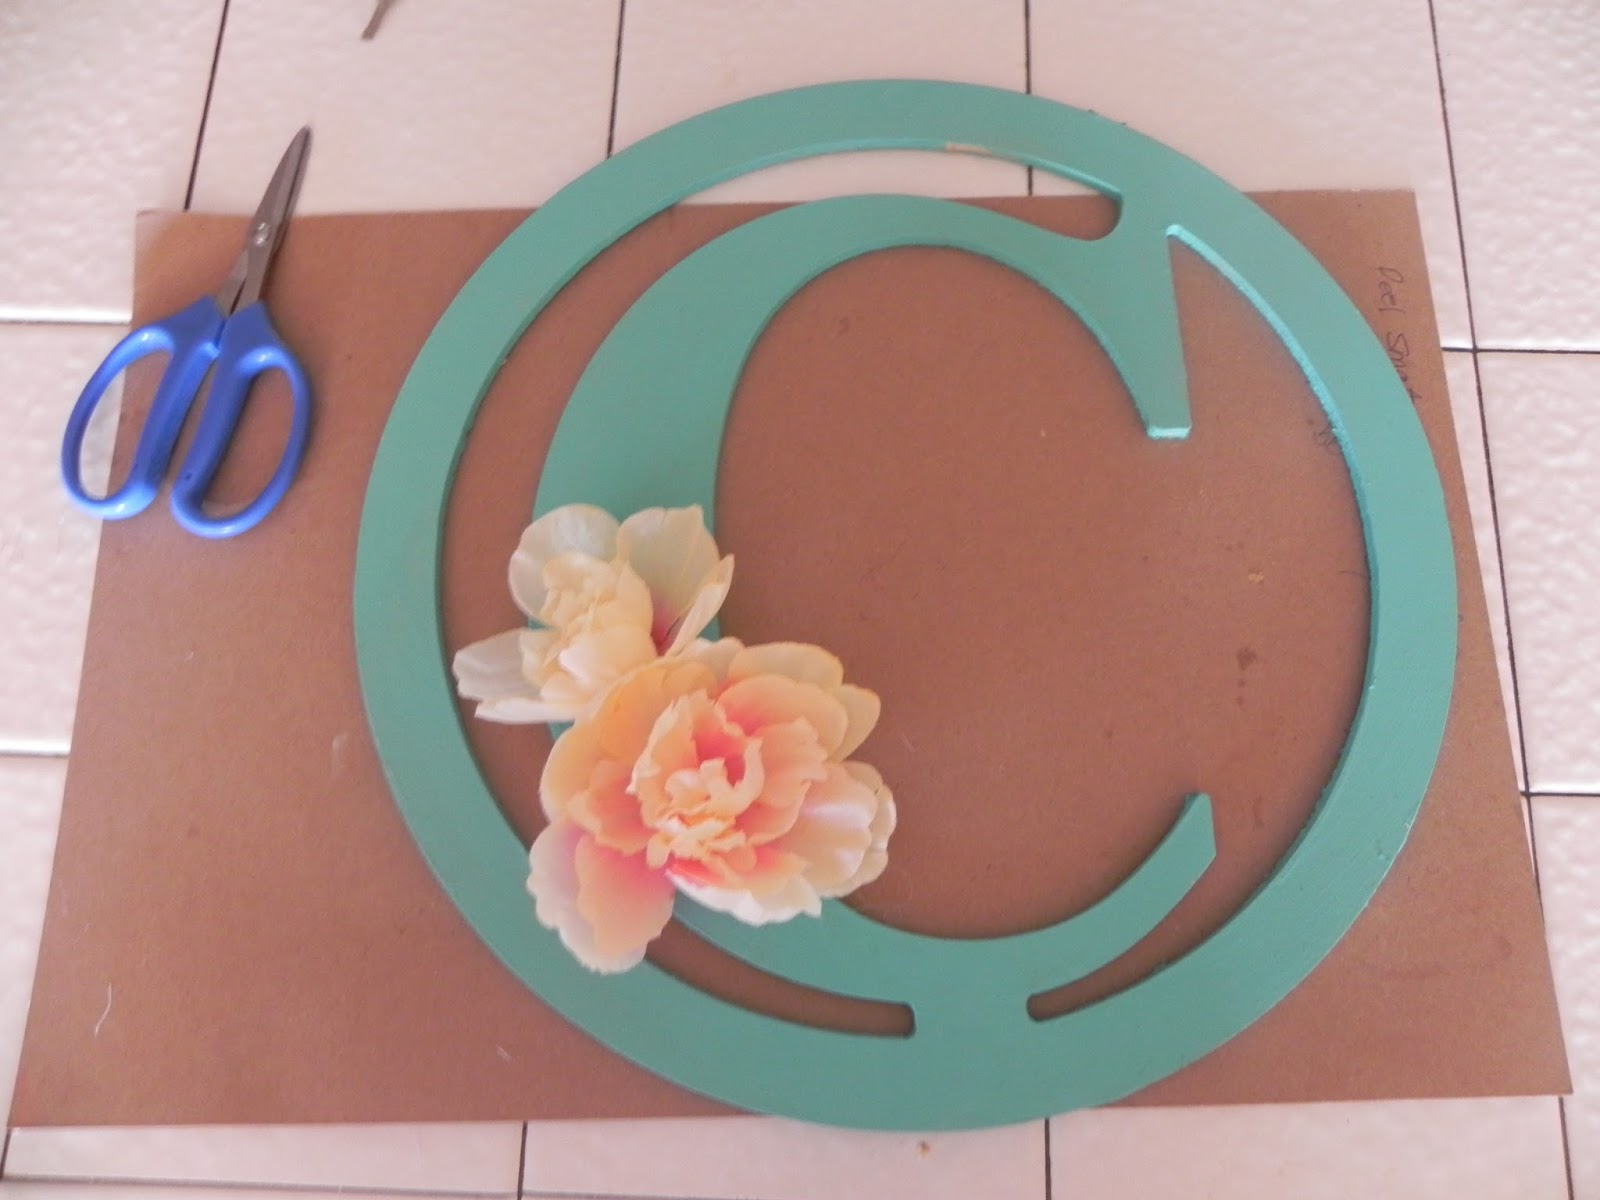
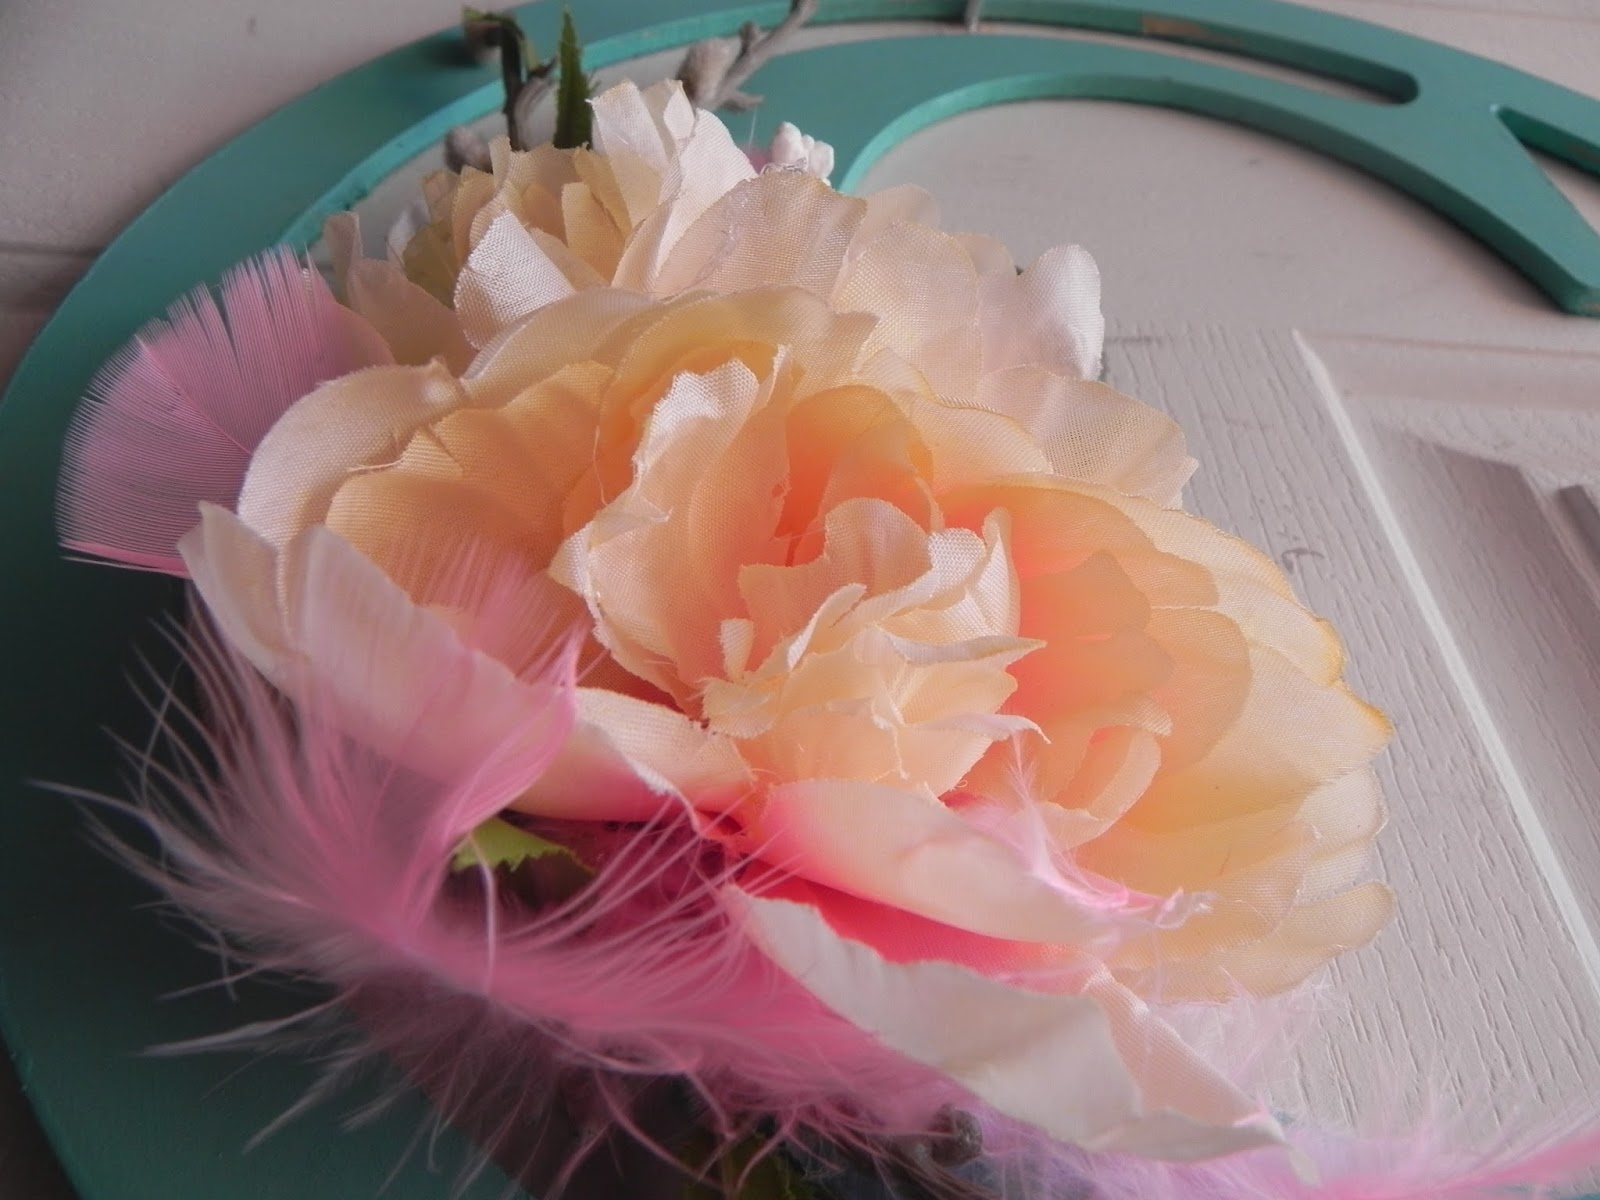
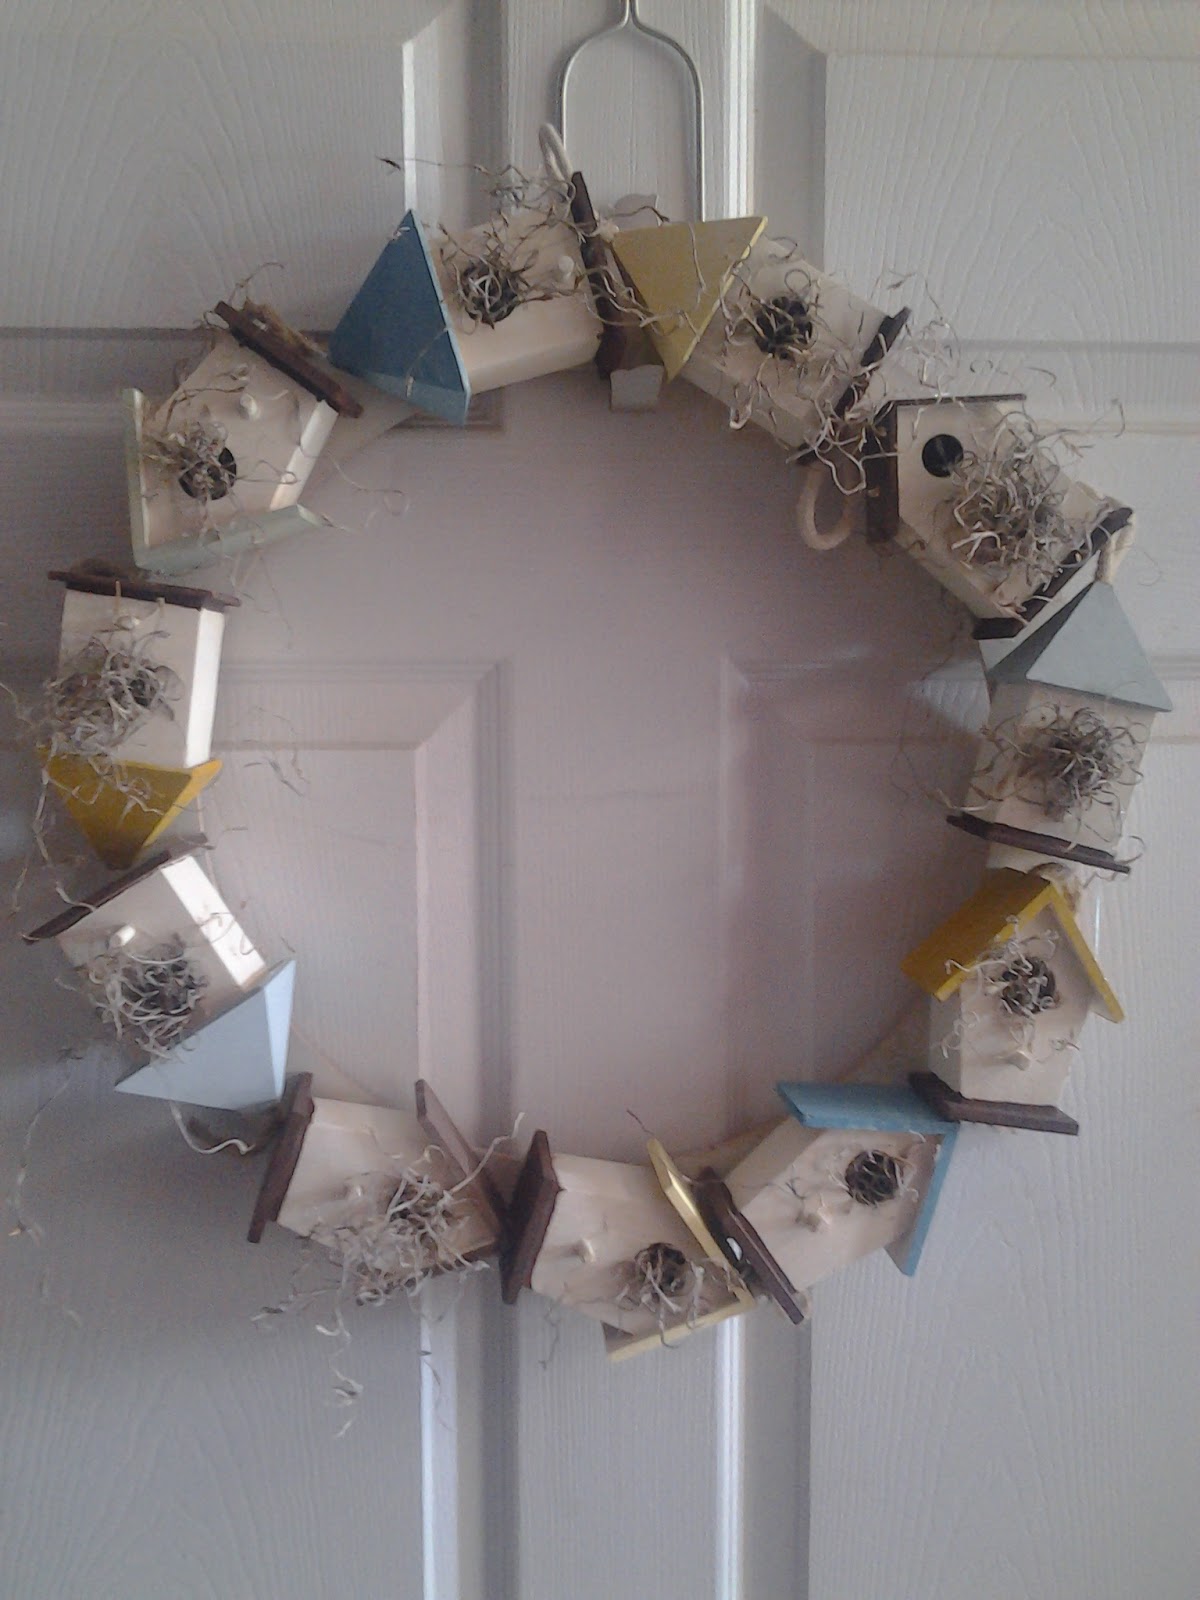
I started by gluing the larger flowers on.

Then I glued whatever else I had on.
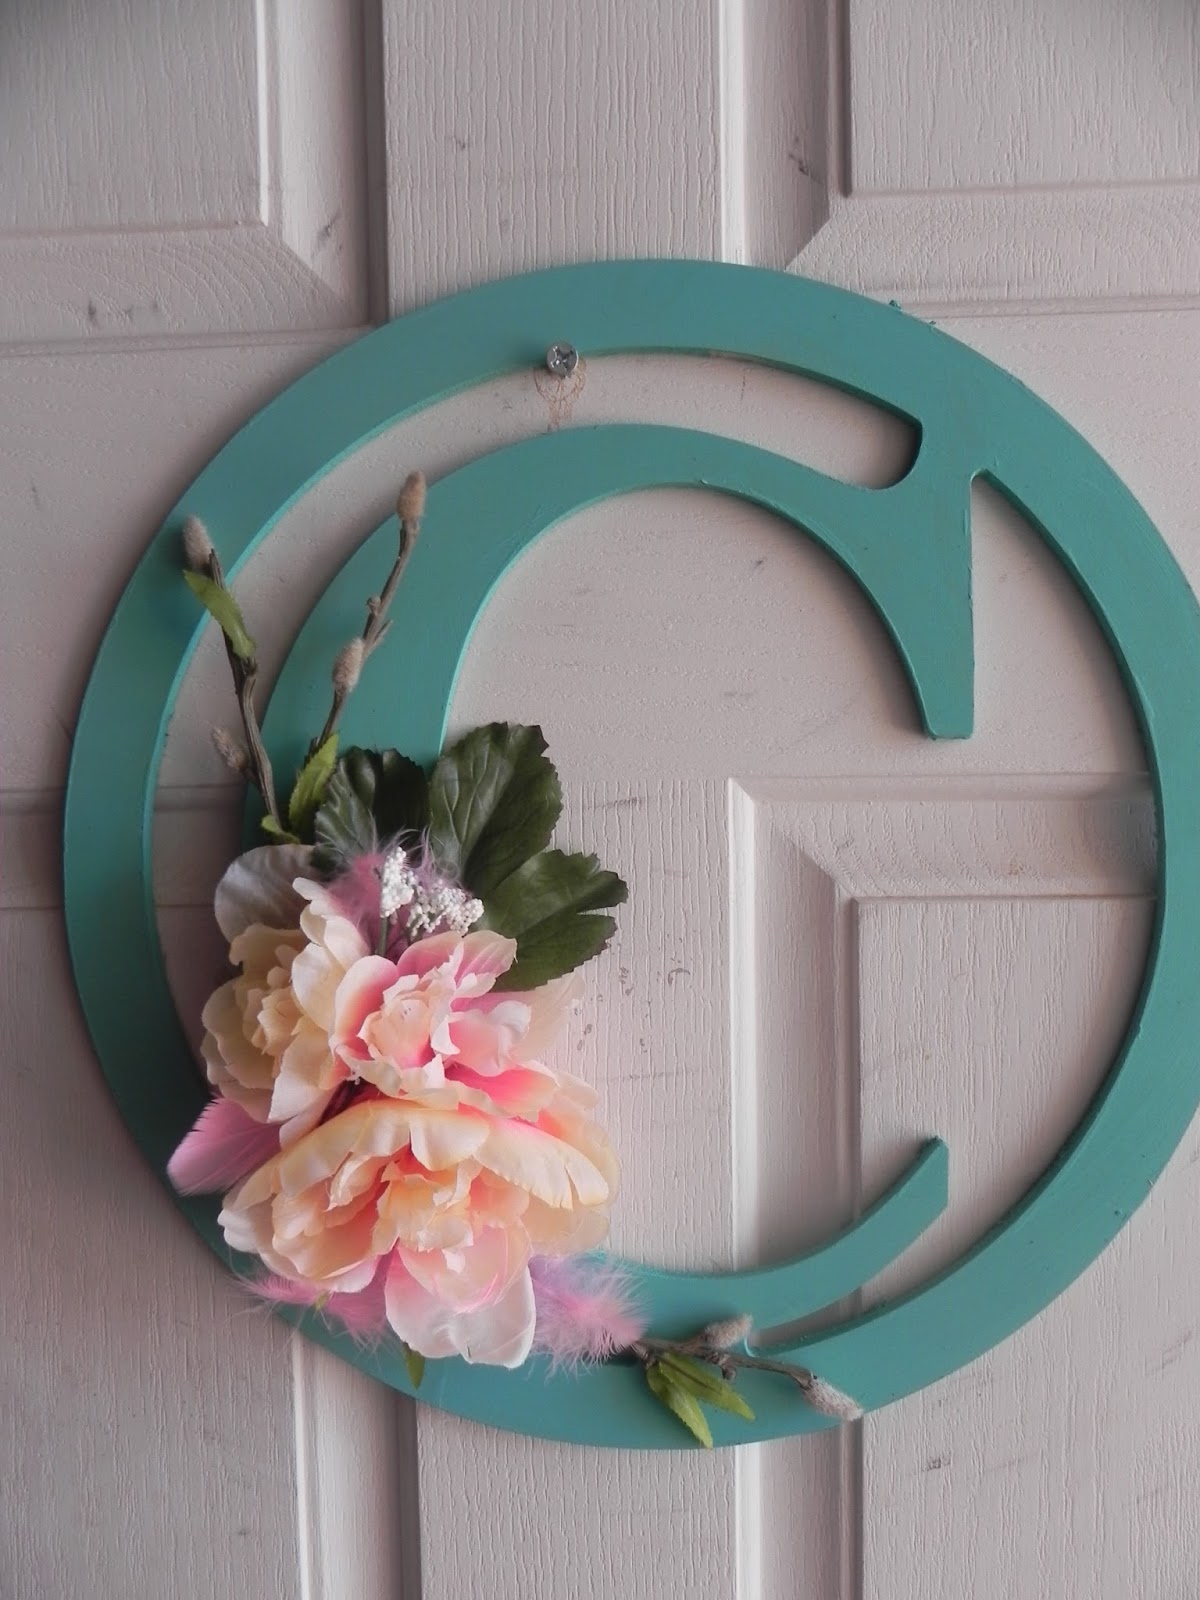


I put it on the front door for now. I have an idea for a summer wreath, but, it may take me a few weeks days.
I live in Arizona, it has been 117 lately, so I am staying indoors. I guess I have to clear clutter, clean and organize. Please stay tuned, I am in the kitchen now. I should have a post by Friday :-) Have a great week, drink plenty of water and stay cool.
Rhonda


