

I thought is was very cute and for $2.00, it was just what I was looking for. The girls want to redo their room, so I am looking for things to put in there. This is perfect for holding necklaces and different jewelery. The little shelf on top can hold glasses, or a small box.

I love the molding on top.

I also found this at Hobby Lobby about a month ago. It will look cute with it. It can hold my YD's robe.


Now, this is their hair bow/flower holder. My YD got into the flowers this past year and they were everywhere. So, I made this. It was very easy, and for normal people, will take no time at all.

I am sorry that I didn't do a tutorial, but, I wasn't blogging when I made this. It is very self explanatory and again, easy.
I found this very large picture, and the frame was just what I was looking for (kind of chunky) at a church rummage sale for only $2.00. It had a hideous oil painting of a quail. I took the oil painting out of the frame and primed and painted it white (just the can at Wal-Mart for .99) Distressed it, and that was it for the frame.
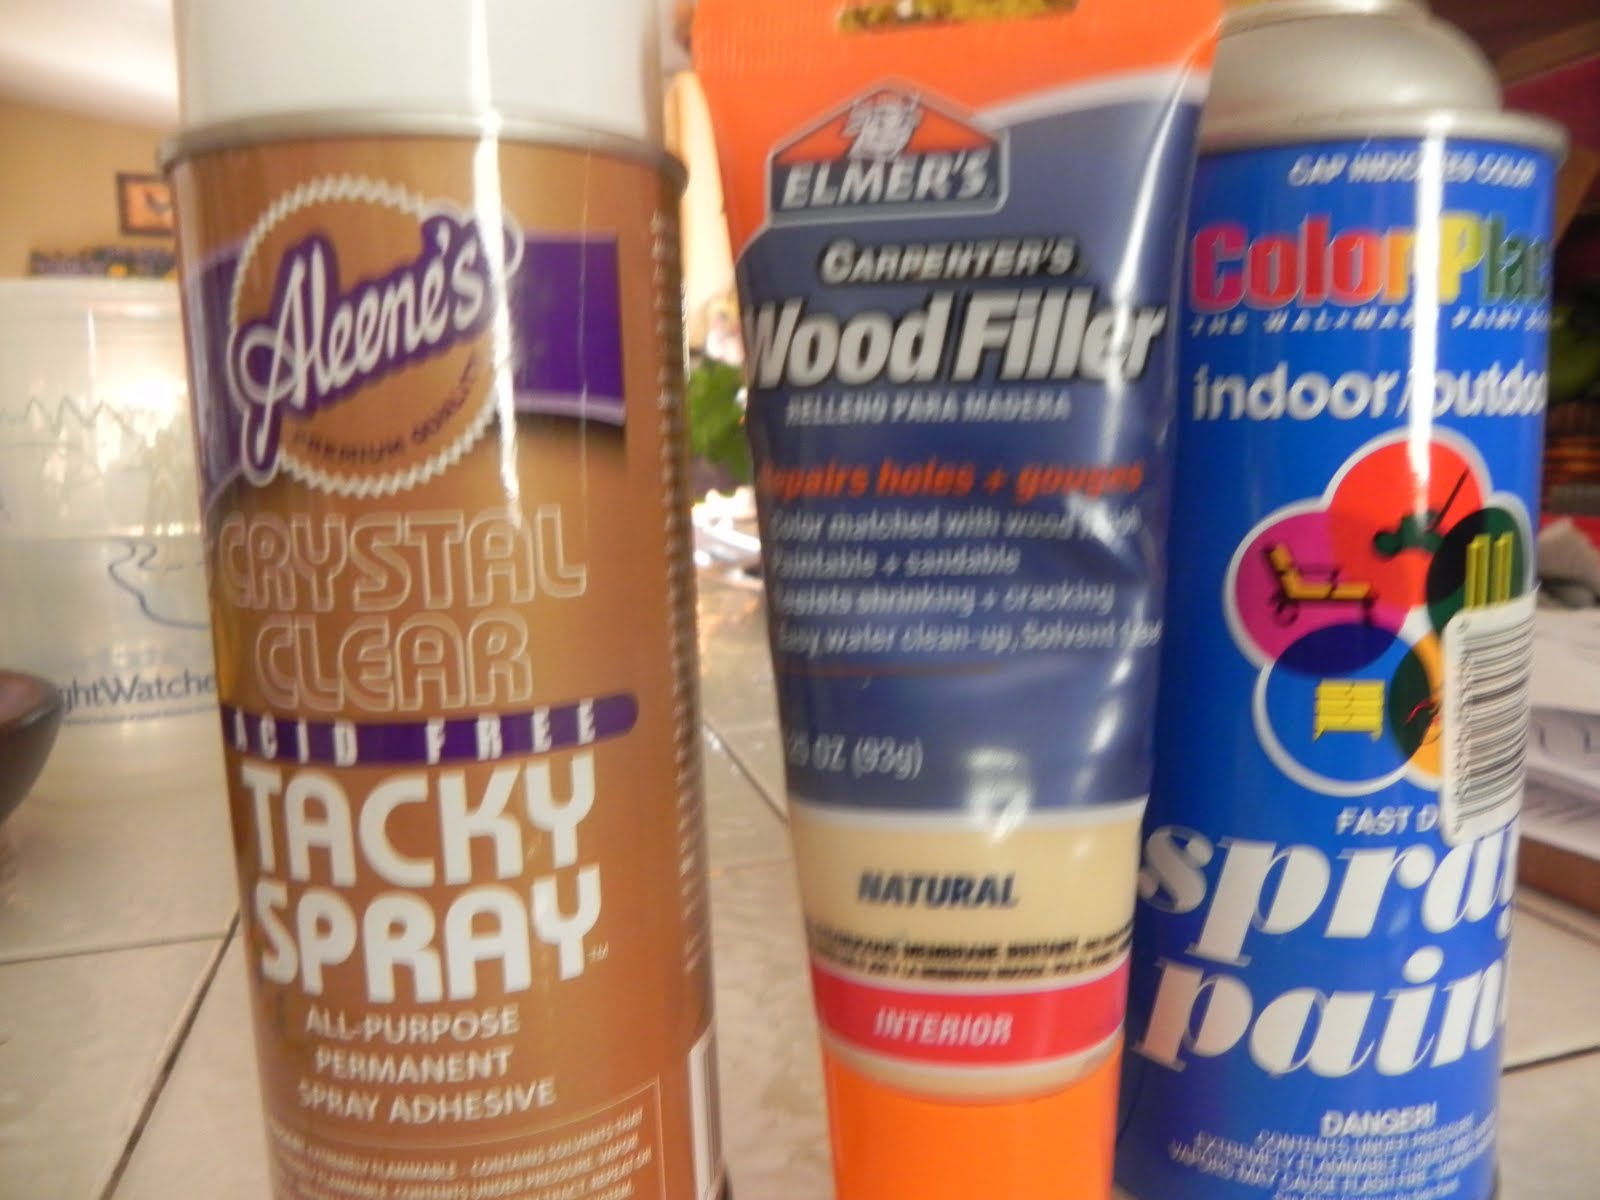
These are the supplies I used. I love that Tacky Spray. The wood filler is for later.
So after I finished the frame, I ironed my material (I got a quarter from Wal-Mart $1.29), Then I sprayed tacky glue all over that ugly oil painting and laid my material over smoothing it as I go - Easy Peasy.

(Have I told you that I love Rosettes??!!)
The next part was the trickiest of all. Cutting the chicken wire (from Home depot - around 6.00) and stretching it over the covered painting. I used a staple gun and stapled it in place. It kind of hurt my hands (not gonna lie). But, I did it and it only took about 30 min..


Here is the back. Now, when I was putting the covered canvas back into the frame, it was tight (another good thing to know). I used a small hammer and it just wasn't doing it for me. So, I got a sledge hammer (now you know why I had the wood filler, oh, and wood glue). That was NOT a good idea. Now, I really know what, to "smithereens" means. I was so upset. I think I cried a little and there definitely was some stomping. Mine did take a little longer to make because I had to piece the frame together, glue it, fill it in, let it dry, re-paint it, and re-distress it (I think the distressing looks better now -- ha ha). Then, my husband took a rubber hammer (never knew it existed) and lightly tapped into place. That my friends is one of my Lucille Ball moments.

These are some hair bows I have made - very simple.
So, this is also going to go into my girls room. I hope we can start to paint soon. Just getting back to work, so I can start a few of my projects.
This really is easy and should only take the average person a couple of of hours ; ) After my melt-down, it only took me two days. grrrr The whole thing only cost me about $10.00. I went in half with the chicken wire. I had a girlfriend make one too.
Here it is again.
Thanks for stopping by.
Rhonda
Very, very cute hair bow holder! And I am also really impressed by your busy book! I am saving this in my inspiration folder. I'm your newest follower!
ReplyDeleteBrie from darlingdoodles.blogspot.com
Very cute. What a great way to organize (and display all of your cute bows and flowers). Thanks for sharing @ Lines Across My Face. I hope to see you again next Monday.
ReplyDeleteRachel
Really pretty! and useful too!! Thanks for sharing it with us :)
ReplyDelete超激情辣妹免费视讯视频聊天室 , 视频聊天室 , 聊天室 , 视讯 , 视讯聊天 , 视讯聊天室 , 聊天室 , 免费视讯
ReplyDelete